Many of us love the destroyed look to our denim, like Drew Barrymore pictured here.
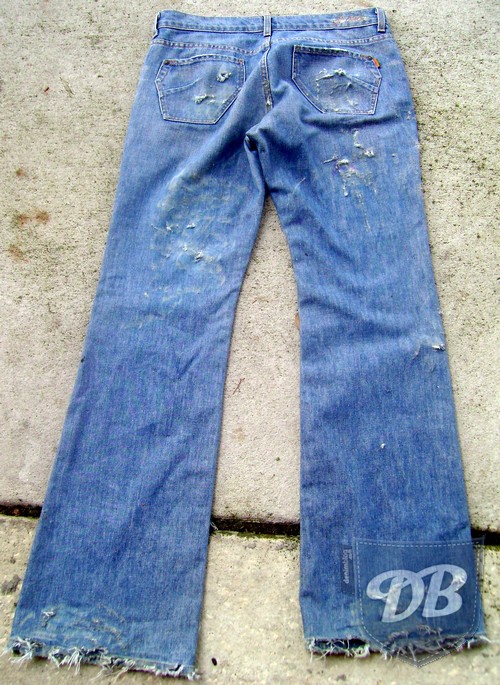
I tried my hand at making a pair of homemade destroyed denim jeans. I used an old pair of James Jeans I had lying around. The color wasn’t very modern. Made me think of Mom Jeans. Here’s what I did to spruce them up (or rather tear them up!) for a destroyed denim look.
Items you will need:
- Dremel or Angle Grinder – The dremel will give you slow and easier to control tears. The angle grinder can give small tear but you must not press hard or else you’ll tear right through the denim. I had that issue….ooops. Ha ha.
- Sand paper
- Scraps of material for and patches you may want (or need as was in my case) and a needle and thread.
- Bleach and/or dishwashing detergent
- Piece of wood that will fit inside a pant’s leg
- Scissors
Bleach will break down your jeans much quicker than dishwasher detergent so use caution if that is your choice. Dishwasher detergent straight or bleach diluted (1 part bleach 5 parts water) should be applied to anywhere you want to “age” for anywhere between an hour to two.
Here’s the process for my jeans:
- First, if your jeans are too long, you can use scissors to cut the bottom hem off, or make some light cuts in the hems to give some frayed edges. I washed them AND dried mine with a couple pairs of shoes, tennis balls and my downy balls to beat them up a bit, and then rinsed them 3 times in fabric softener. This gives the denim a softer fluffier look.
- Rub on a mixture of half and half detergent and bleach water. (You can do either or I just could not decide which.) I let it stay on for an hour. I also took a spoon and spattered the bottoms of my jeans with just bleach water.
- After they’re dry, take them outside and place a piece of scrap wood in the leg. Get your trusty dremel or angle grinder and go at it where ever you want your tears – more if you want them super destroyed like I did, less if you just want a bit of distressing, like Drew, above. Be careful though! Don’t press too hard until you learn how much pressure you need to put or else you’ll make boo-boos like I did which needed a patch. (Hint: Showing too much of pasty thighs is not cute.) If you do make a boo-boo, just use your needle & thread and stitch in a quick patch behind the hole. Just makes them even more “vintage” looking in my opinion!
- Voila! Destroyed denim! You can wash them again to get any wood bits off and fluff them up in the dryer once more and you are ready to go!
Before:

After:


Me in my new destroyed denim:

(Editor’s Note: Props to writer Jessie for this great guide! Readers, if you do something special to your jeans, feel free to document it, photograph it, and send it to the Editor and we may feature it here as a denim guide!)